You’ve decided it’s time to give your interior spaces a fresh look with a coat of paint. Naturally, you’re planning on choosing the perfect colors and already imagining all the possibilities.
But you may be forgetting something – surface preparation. Just how vital is surface preparation to the success of your interior painting job? Find out below!
Why is surface preparation so important?
-
Enhances adhesion of paint to the surface
Peeling paint can be unsightly and is often caused by poor adhesion. An adequately prepped surface bonds well with the paint, preventing blistering, cracking, or peeling. The enhanced adhesion ensures the paint stays in place for years, so you won’t have to make frequent repairs.
-
Eliminates ugly blemishes
Do you think those rough spots and unsightly stains, cracks, dents, or dings will disappear with a paint job? Wrong. Most likely, the blemishes will become even more apparent. Surface preparation enables you to repair the flaws for a smooth, uniform, clean finish.
-
Helps reduce the risk of moisture
Preparing interior walls for painting involves cleaning, which removes dirt and dust that could trap moisture, leading to mold and mildew growth. Surface preparation also involves applying primer, helping to create a barrier that prevents water penetration.
-
Prolongs the lifespan of your project
Surface preparation prevents damage to the paint job and reduces the risk of moisture. As a result, your painting project lasts long, reducing the need for repainting. You also won’t have to make expensive repairs and buy additional paint cans, saving you money.
How to prepare your interior walls for painting
-
Clear the room
Remove everything that can be stained by paint droplets from the area, including furniture and decorations. Also, cover the floor and fixed items like cabinets with plastic or canvas sheeting.
-
Clean the walls
Clean the wall thoroughly to remove contaminants such as dust, dirt, grease, and grime. Mix mild soap and warm water and scrub the wall using a sponge.
-
Fix damages
If there are imperfections such as dents, cracks, or nail holes on the walls, it’s time to fix them. You can use spackling paste or apply a filler if necessary.
-
Remove loose paint
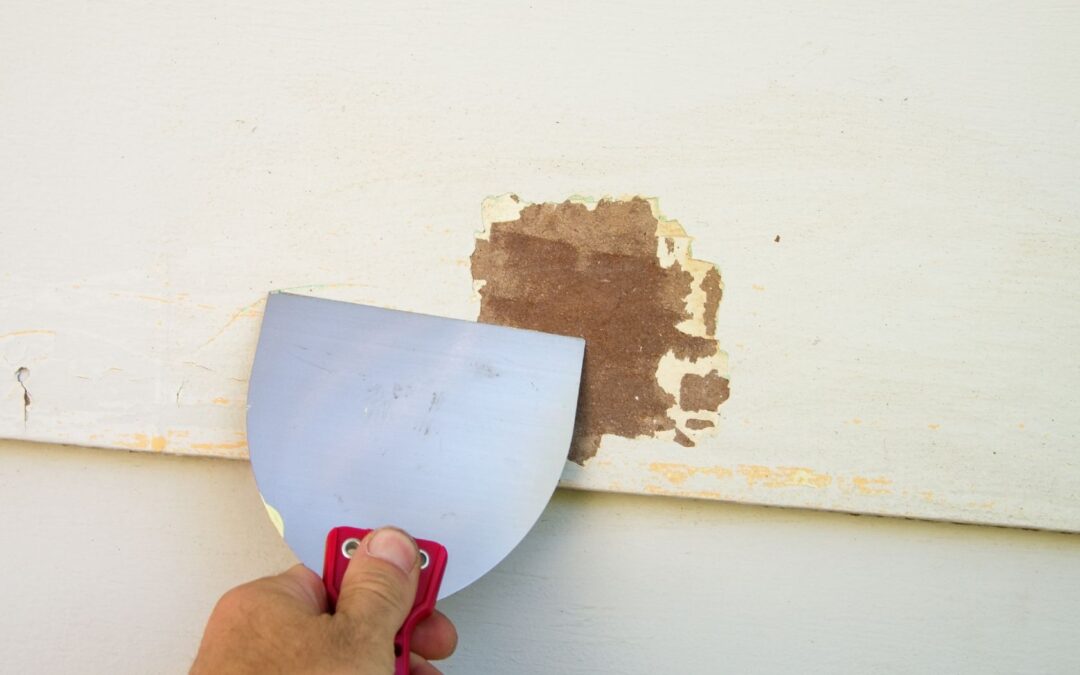
Painting over loose painting is a recipe for a failed painting project. Scrape off cracking, peeling, or flaking paint with metal or plastic scrapers.
-
Sand the surfaces
Use sandpaper to sand the areas you patched until you obtain a smooth and even surface. Don’t forget to sand the edges of the removed loose paint. Then, clean away any debris and allow it to dry.
-
Apply a primer
Primer ensures excellent paint adhesion. It is particularly essential if you are switching to a lighter color or painting over patched surfaces. Allow the primer to dry before you begin painting.
Ready to transform your interior spaces with a fresh coat of paint?
Whether you are painting your kitchen ceiling or all the rooms of your new house, Stirling can give you the crisp, beautiful appearance you envision. We are a different breed of contractors – one that genuinely cares about your unique needs. Contact us today for a free estimate.


Recent Comments